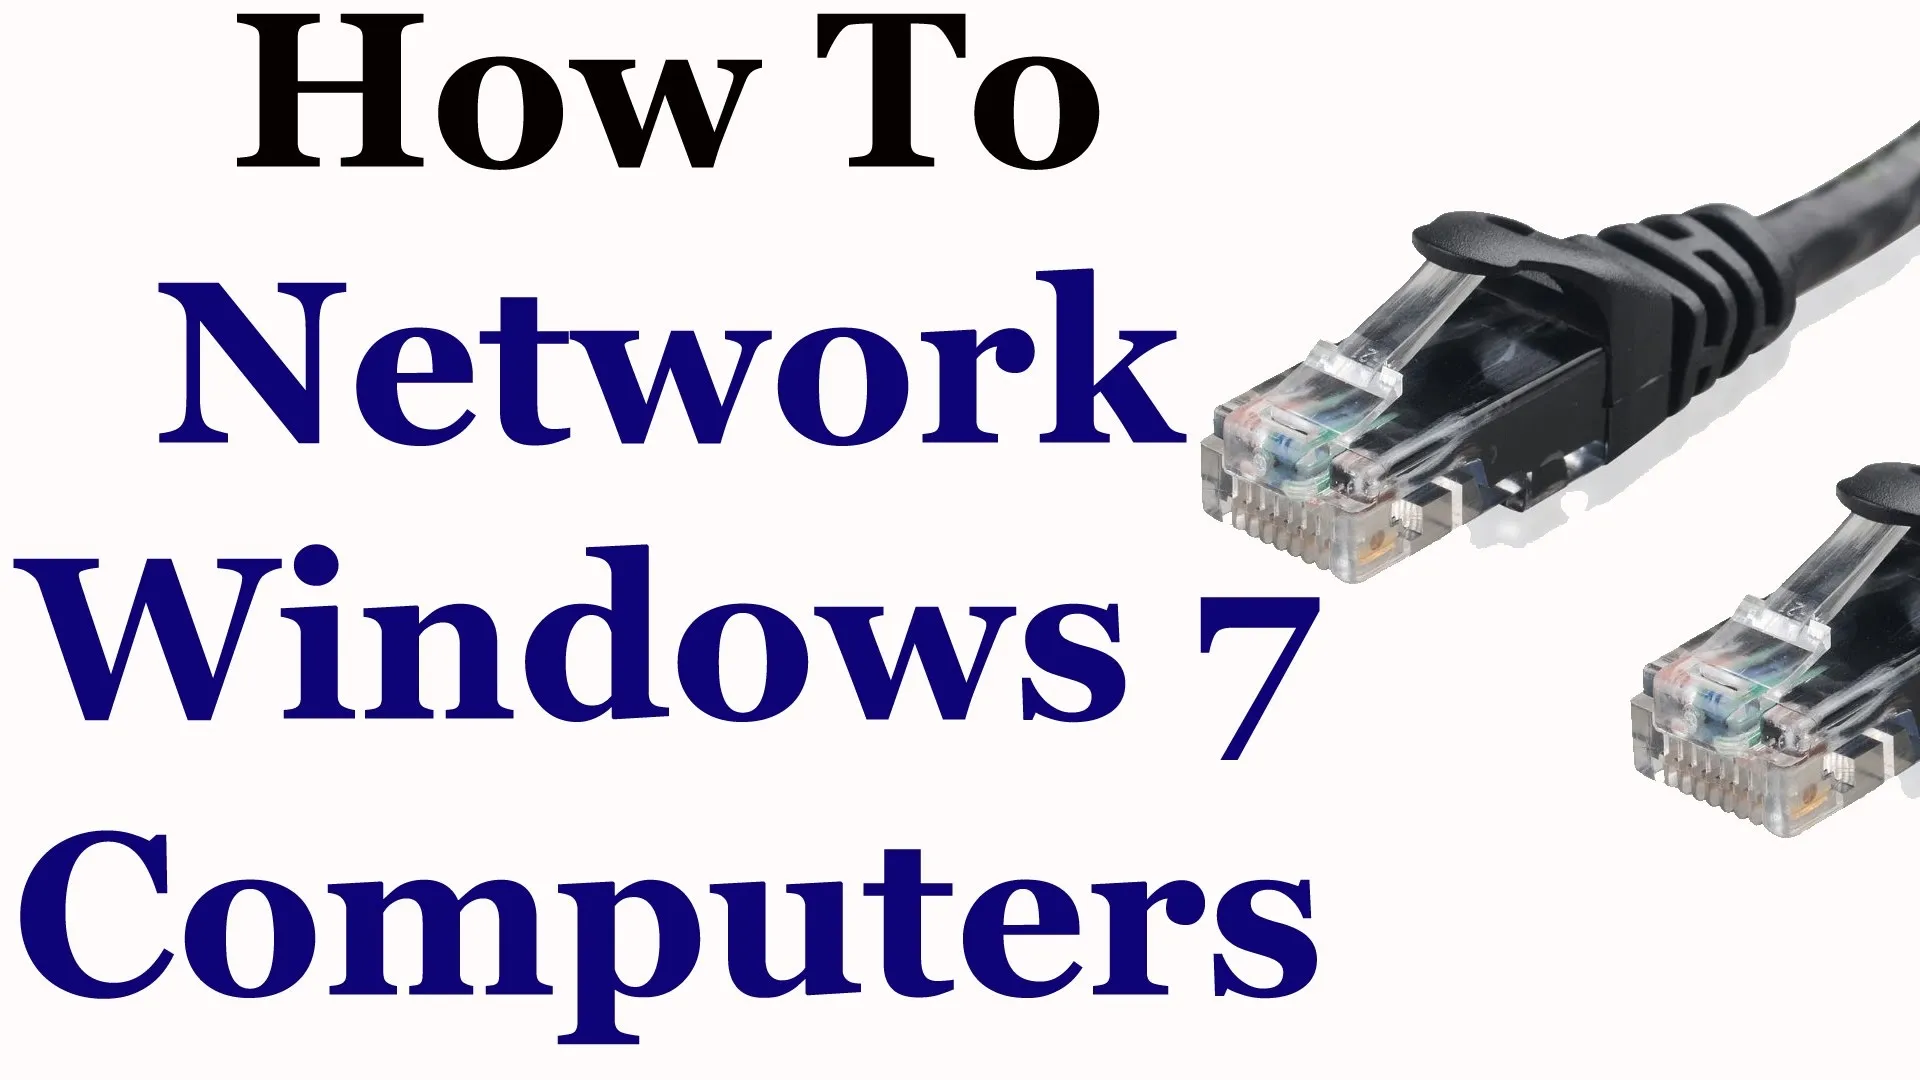
Whether you are sharing an internet connection, working together or just playing group video games, you will need to network your computers. Check out this tutorial and learn just how easy it is to create a home network.
You Will Need:
* A broadband internet connection
* A router
* Ethernet cables
Step 1: Set up internet
Set up a broadband internet connection. Connect the router to the modem.
Step 2: Choose wired or wireless
Choose between a wired or wireless network. For a wired network, use ethernet cables running to each computer. For a wireless network, use a wireless router and wireless adapters in each computer.
Step 3: Scan for connection
Run a scan for the wireless network on each computer, and connect to it.
Set up security on the wireless network with either a WEP or WPA2 security key to prevent unwanted computers from accessing your network.
Step 4: Connect PCs
Set up a network by using the Set up a home network wizard under My Network Places and following the instructions. PCs running Vista are able to detect other Vista computers.
Step 5: Share folders
Right-click on folders you want to share between computers and click Properties. Go to the Sharing tab, and check Share this folder on all networks.
Step 6: Connect Macs
Connect a Mac to the network by going to the Users folder, and Control-click on Shared. Go to Get Info, and check Shared Folder.
Step 7: Share on a Mac
Go to System Preferences, click the Sharing pane, and check File sharing. Go to Options, and check the desired options. Set Everyone to read and write to let other computers access the shared folder.
Did you know? A 2008 survey of PC Magazine readers revealed that 88 percent of them have two or more computers at home.


Comments
Be the first, drop a comment!